I’m not overly crazy about server environment setups, but I’m always up for an adventure when it comes to tinkering open source systems. I had the opportunity to help a client transition themselves from outsourcing their ICT services to taking control of these services internally. As the title of this blog post suggests, I spent some time looking into SFTP key authentication solutions that are not just more affordable than the RM1,500.00 (around USD400) a year subscription (edit: I just found it it’s actually per quarter!), but also allows for root shell access on the server itself, something that the client’s previous vendor did not give.
I went to try SmartFile, which was cool with its custom branding features and easy setup. But, being the control freak that I am, at the end SmartFile didn’t really fit with what I was looking for. And naturally, the only answer to total control of a server is owning the whole server itself. And of course, the easiest way to owning a whole server itself is to set up a VPS (virtual private server).
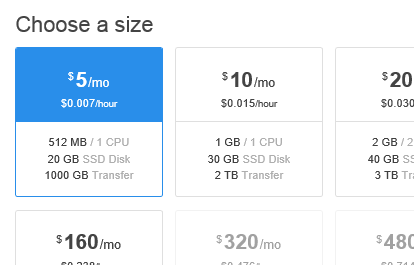
And this is where DigitalOcean and CentOS come to the rescue, with its minimum USD5 a month subscription (equals to USD60 a year).

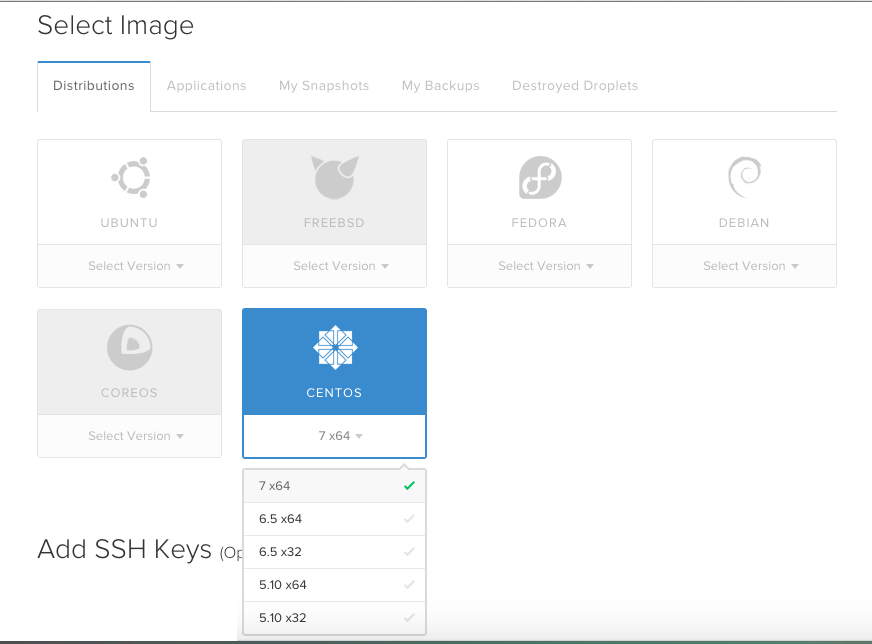
I have no clear idea why I chose CentOS as the setup. I have to admit, I pretty much followed my gut even though I have zero experience whatsoever with CentOS. What I was sure of is that a Ubuntu / Debian setup (which I’m more familiar with) is definitely not going to work for me. Besides, I wouldn’t need anything else set up on the machine beyond shell and FTP access. Briefly reading on how solid CentOS stability is, I opted for version 7.
(Okay so I actually liked that CentOS is short for Community Enterprise Operating System; “community” and “enterprise” in the same sentence is sexy.)
Setting up a virtual server (or “droplet”) in DigitalOcean is a blast and easy peasy. Its documentation? Fantastic.

As soon as I created my first droplet, I dived straight to the initial steps to set up CentOS.
Creating SFTP-only access via SSH Key
Then I went right into reading and setting up an SFTP-only user account access and disabling its shell access. This was possibly a misstep, I think, because SSH key authentication relies on SSH. Will I be able to SFTP in with a public/private key access? So I tested.
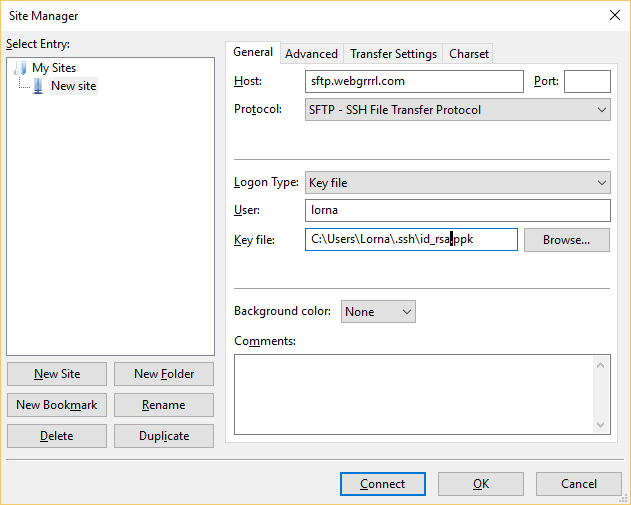
I created a key pair on PuTTYgen, saved my public key to my existing server/droplet of the SFTP-only user account, then tried to SFTP into my droplet using the private key via FileZilla. If it worked, the server authentication will bypass the password prompt, and instead grab my private key on my PC to pair it with my droplet’s public key.

Alas, it didn’t work.
After reading and troubleshooting through various other articles, I figured that it might have something to do with the user account’s different home and SFTP directories. Since the user’s SFTP directory is outside of its home directory where the SSH keys are kept, I thought that this issue could be the culprit.
Assuming that the user login is john, here’s what I did to enable SFTP access using SSH key authentication, with shell access blocked:
- I backtracked my steps to the SFTP-only access documentation.
- I created a directory called ftp, and under it incoming inside john‘s original/default home directory at /home/john. I also made sure that ftp has root user and group ownerships, while incoming has john user and sftpusers group ownerships. In addition, I set 0700 permission for ftp, and 0755 for incoming.
# mkdir /home/john/ftp
# chown root:root /home/john/ftp
# chmod 0700 /home/john/ftp
# mkdir /home/john/ftp/incoming
# chown john:sftpusers /home/john/ftp/incoming
# chmod 0755 /home/john/ftp/incoming- Based on the SFTP-only documentation, I changed back john‘s home directory from the recommended /incoming to /home/john:
# usermod -d /home/john john- I also modified the Chroot SSH configuration, by modifying the directory that users under sftpusers, including john, will be directed to via SFTP. Otherwise, SFTP will send out a failed login error because sftpusers do not have permission to access just the ftp directory. As follows:
Match Group sftpusers
   ChrootDirectory %h/ftp
   ForceCommand internal-sftp -d /incoming
   X11Forwarding no
   AllowTcpForwarding no
I think that was about it. I restarted the SSH service, then went through the FileZilla key authentication once again.
My SFTP access with SSH key auth finally worked!

The challenging part for me about the whole process is actually picking the server setup I wanted to use. The rest of the process is pretty much straightforward. Well, as straightforward as any open source documentation can be, which can be horribly scattered. Good thing I have the Google-fu eh?
*WA-KAA!!*
Check out my other posts: « My gripe about tooling in modern web development / Going nostalgic; “restoring” my old website at Tripod and Geocities »